
Framing Essentials for Photographers
PROTECTING YOUR WORK WHILE AMPLIFYING ITS IMPACT
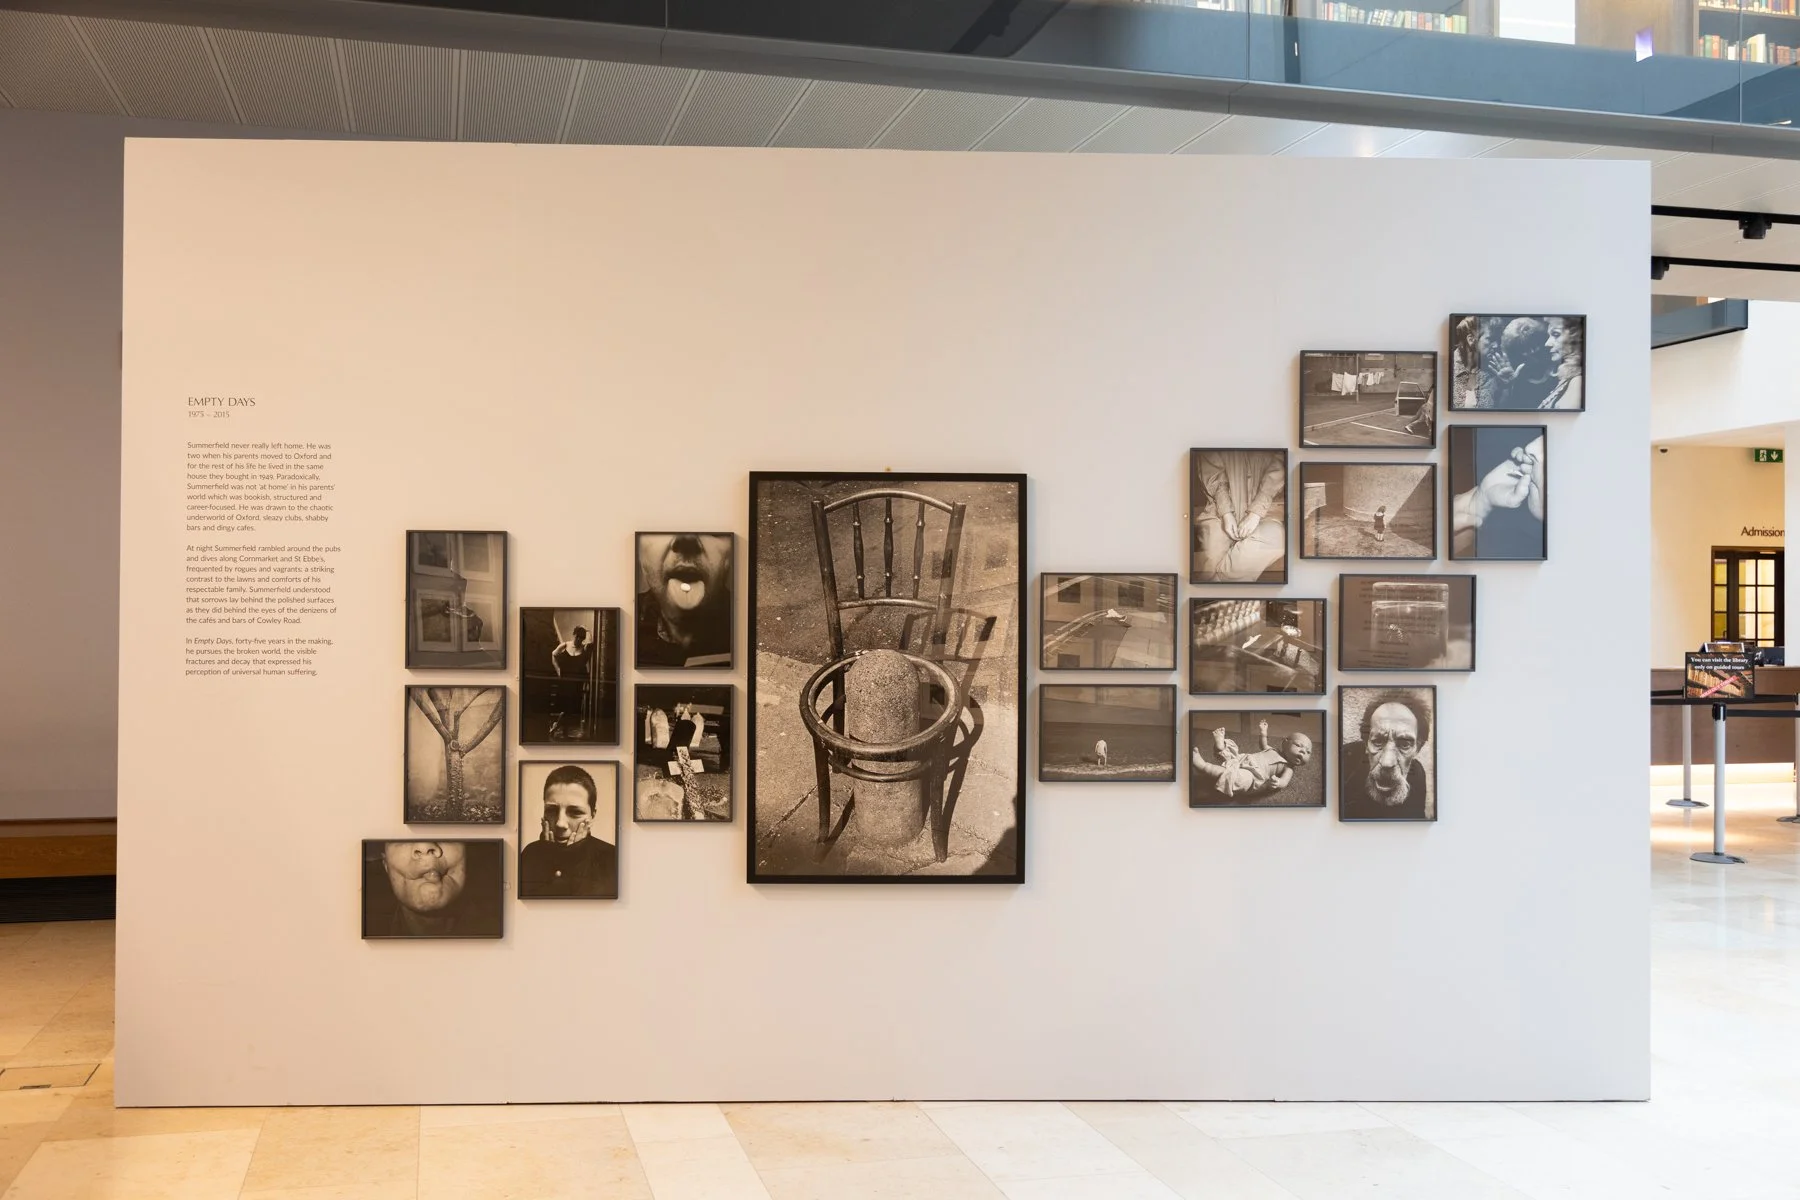
Paddy Summerfield, The Camera Helps, at the Weston Library during Photo Oxford 2025. Photo: Alex Schneideman
Dwell time, the length of time a gallery visitor stops to look at an artwork, is inherently connected to its physical presentation. Size, positioning, lighting, and crucially, framing, all influence this, so understanding how to frame your prints as a photographer is essential.
Frames have a dual function: to protect your prints and to enhance them in a way that positively affects their perceived value. Photography connoisseurs are looking for technical excellence in all aspects of your work, and the framing choices you make can be crucial in terms of sales.
Here we look at all the things you need to consider and how to make choices that enhance both the longevity and the value of your prints.
WHY FRAMING MATTERS
Collectors and galleries notice framing quality immediately. Professional framing signals your intent as an artist by demonstrating your high standards of craftsmanship and your understanding of your audience.
On a practical front, the frame should protect your print from UV light, humidity, dust, and physical damage. Photographic emulsions are sensitive to light, fungal growth and acidic spotting, so if you’re expecting a collector to make an investment in your work, they will want to know it will not deteriorate over time.
Just as important however, are your aesthetic values. The frame should never overshadow your work, but give it space to breathe and elevate its visual impact.
CHOOSING FRAMING MATERIALS
While your choice of framing materials may feel subjective, there are some very real factors to take into consideration. The first is the material of the frame itself.
Wood frames have a warm, organic feel and can work beautifully with photographic prints. They’re available in countless profiles and stains, but are also more sensitive to humidity and warping. Choose solid hardwood mouldings to increase longevity and price compared to engineered wood.
Aluminium frames are a modern, minimalist choice, extremely stable and lightweight, and very popular in contemporary galleries, but you may have limited colour options.
Custom frames made from alternative materials can work when done well and as an intentional choice to mirror your work, but it’s a riskier decision as it can easily put potential buyers off.
MOUNTING OPTIONS
Mounting determines how the print sits within the frame and, to an extent, how well it ages.
Window Mounts
A traditional bevel-cut window mount protects a print it by preventing it from touching the glass. Choose acid‑free, museum- or conservation-grade mountboard to prevent damage to the print over time, and make sure the board colour matches your print, even a small difference in tone will become very obvious under good lighting.
Along with standard depth mountboards, you can also get extra-thick boards that allow additional space between the print and the glass. The deep bevel on these boards throws a soft shadow and suggests premium quality so may be worth considering for high-value prints.
It’s also worth considering how much negative space is needed around your print. Is a narrow mount sufficient, or would your work benefit from a deep mount that draws attention to the work?
Float Mount
With a float mount your work stands proud of the backing board, showing the full paper edge. This technique works well with images printed on paper with deckled edges but requires precise hinging.
Dry Mounting
With dry mounting the print is bonded to a rigid substrate such as aluminium, acrylic, DiBond or archival board. This works well for large prints as they will be perfectly flat and can be combined with a wood or aluminium floater frame or shadow box frame to great effect. The process is irreversible however, so not suitable for highly collectible prints.
GLAZING OPTIONS
As anyone who has ever been to a gallery will know, your choice of glazing dramatically affects how your work is seen.
Although standard glass is cheap, it’s heavy, offers minimal UV protection and is very reflective. By comparison, museum glass is the gold standard for glazing. If you want your work to look like it belongs in a gallery, this is the upgrade that makes the biggest visual difference. It’s virtually invisible with minimal reflections, and offers 99% UV protection, but it comes at a much higher cost.
If you’re framing large work, shipping work or displaying work in public spaces, the weight, expense and fragility of glass may make it an unsuitable option. Acrylic has improved enormously and as a lightweight, shatter-resistant material is often favoured in these situations. High-grade museum acrylics are anti-reflective, anti-static and offer up to 99% UV protection, so can make good alternatives when needed.
ARCHIVAL CONSIDERATIONS
If you want your work to last, it’s important to consider the back of the frame as much as the front. Backing boards should be archival quality, so aim for museum-grade conservation board and avoid MDF or cardboard as they often contain lignin which degrades over time and releases acidic gas that can damage photographic prints.
For high-value prints, chemical stability is key and this applies to the frame, mountboard, backing board and even the hinge tape.
ATTACHING PRINTS
How the print is attached to the backing board determines whether it can be safely removed later. Collectors and galleries generally prefer reversible methods such as Japanese paper hinges and wheat starch paste. Archival tape is acceptable for non‑museum work.
COSTS
Professional framing isn’t cheap, but the value it adds to your work means it’s well worth the expense. Have an honest conversation with your curator or gallery manager about costs, expectations, buyer preferences and sales potential before making any decisions. A professional framer will also offer invaluable advice on finding the best possible solution for your budget.
Although expensive to do, prints with museum-quality framing can command a higher price as their longevity is ensured. If you have to compromise, museum glass and float mounting are the most expensive upgrades, but they also have the most impact, so choose carefully. For more on choosing the best size for your prints, check out our guide here.
FINAL CONSIDERATIONS
Whatever your choices, the frame and mount should complement your work, not distract from it
Always sign your print on the paper, not the mount
Avoid overly thick frames unless the work demands it
Leave at least 5–8 cm of mountboard around your print for breathing room
Keep framing consistent across a series
Never let the print touch the glazing
Store framed works upright, not flat